Before NCM can access your network device configurations, you must provide login credentials for the devices you want to look at. First you define default credentials, and then you can also define network groups and add different credentials for different groups of devices. Each network group can have multiple sets of credentials, and Traverse remembers which credentials worked for each device it logs in to.
Adding Default Credentials to NCM
Navigate to Config Mgmt > Settings.
Click Credentials.
In the fields provided, enter the default login credentials for NCM to use when attempting to access your network devices, and then click OK.
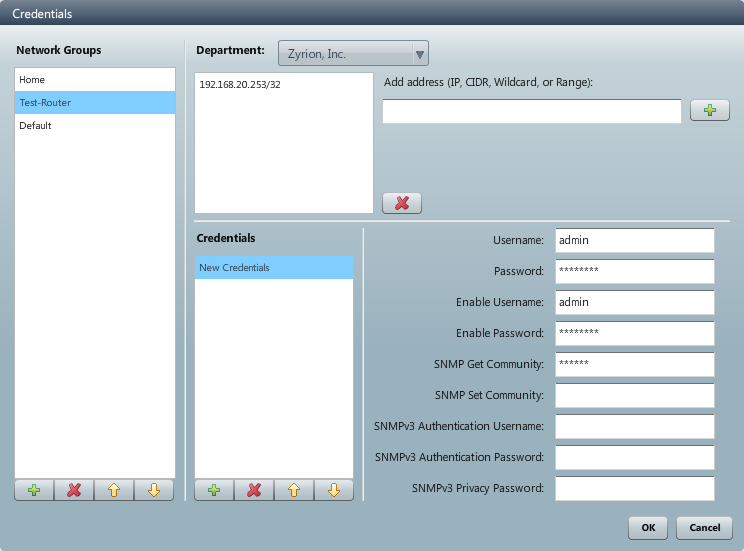
Adding Credentials by Network Group
Navigate to Config Mgmt > Settings.
Click Credentials.
Click the "+" icon under Network Groups to add a new group.
Enter a name for the group in the New Network Group dialog box.
Double-click a name in the Network Group to rename it.
Define membership in the group by entering network addresses in the Add address (IP, CIDR, Wildcard, or Range) field. Enter one address or range at a time, and make sure to click the "+" icon next to the entry field each time to add it to the group.
Click the "+" icon under Credentials to add a set of login credentials to the group.
Double-click a name in the Network Group to rename it.
Enter a name for the set of credentials in the New Credential Set dialog box.
In the fields provided, enter the login credentials, and then click OK.
Setting Network Protocols for NCM
You can define which network protocols NCM is allowed to use by default, and you can also use define network groups and define different sets of allowed protocols for different groups of devices.
Navigate to Config Mgmt > Settings.
Click Protocols.
Click the check box next to each protocol you want to enable NCM to use.
Click on the name of each protocol and edit the port or connection information if necessary.
Click OK.
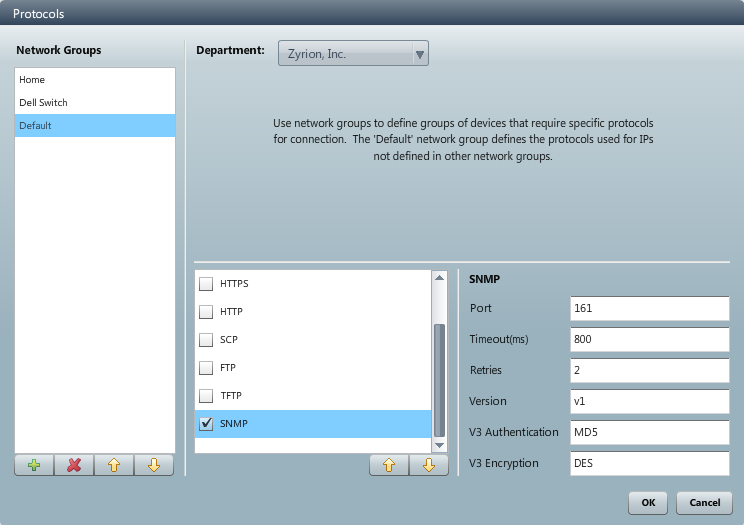
Setting Allowed Network Protocols by Network Group
Navigate to Config Mgmt > Settings.
Click Protocols.
Click the "+" icon under Network Groups to add a new group.
Enter a name for the group in the New Network Group dialog box.
Define membership in the group by entering network addresses in the Add address (IP, CIDR, Wildcard, or Range) field. Enter one address or range at a time, and make sure to click the "+" icon next to the entry field each time to add it to the group.
Click the check box next to each protocol you want to enable NCM to use for devices in the selected network group.
Click on the name of each protocol and edit the port or connection information if necessary.
Click OK.
Scheduling Discovery of Network Data
You can schedule automated discovery of ARP, MAC table, and neighbor data.