Some organizations do not allow active network discovery using ping-sweep and SNMP queries due to their intrusive nature. In some instances, there might also be access restrictions managed by firewalls or router ACLs. To resolve these potential issues, you can manually import a list of devices from a .csv file on the local workstation. The format of the file should be as follows (comma separated):
Note:<device_type>, <community_string>, and <agent_version> are optional parameters.
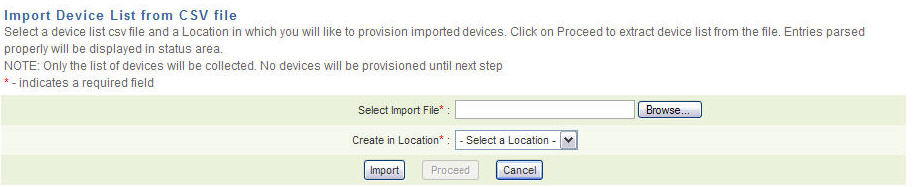
Navigate to Administration > Device Discovery & Import > Import Server List from CSV File.
Enter the path to the CSV file on your local workstation in the Select Import File field or click Browse to locate the file.
Use the Create in Location drop-down menu to select the discovery location.
Click Import. The results of the import display in the Status box.
Click Proceed. The Network Discovery Results page displays.
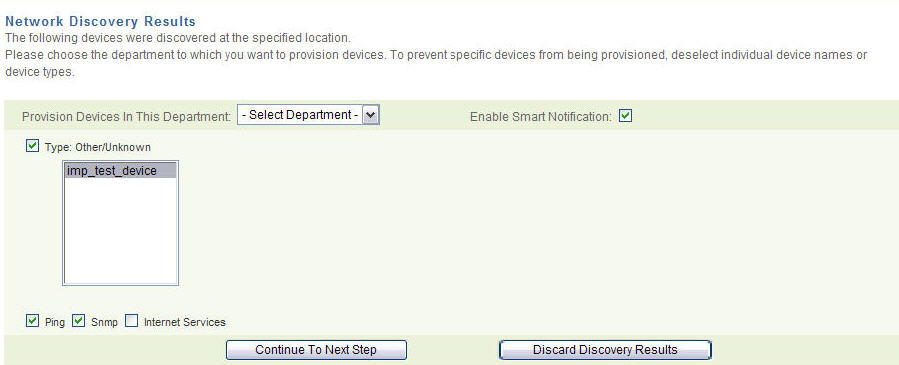
The discovered devices display in Type field. Devices with an unrecognized type are listed as Type: Unknown/Other. You can assign Ping, SNMP, and Internet Services tests. You can also enable Smart Notifications to not receive alarms on tests when the device is unreachable.
Use the Provision...Department drop-down menu to select the department into which you want to import and provision the devices. To prevent Traverse from provisioning specific devices, use the mouse cursor and Ctrl key to deselect a device, or clear the Type check box to prevent Traverse from provisioning all devices of a certain type.
Click Continue to Next Step. The Discovered Network Topology page displays. The page displays discovered devices in a hierarchy of expandable folders. If a device has multiple parents, it is listed under all of its parents.
Review your selections and click Provision These Devices.
Click Change Device Selection to return to the Network Discovery Results page. After the operation is complete, the Network Discovery Status window displays a message indicating that the devices were successfully provisioned.
Note: Devices that are already provisioned (with the same name) are not created again.