![]()
![]()
![]()
|
|
|
|
New Integration Protocol (QB-API v3)
Quickbooks Online Edition has adopted a new integration protocol. Users of Service Billing and Quickbook Online Edition can use the following procedures to upgrade their integration to the new protocol.
Warning: Quickbooks Online Edition will no longer accept the old protocol as of May 15, 2014. Integration using the new protocol requires a VSA patched to 6.5.0.12 or later, or a VSA upgraded to v7.0.
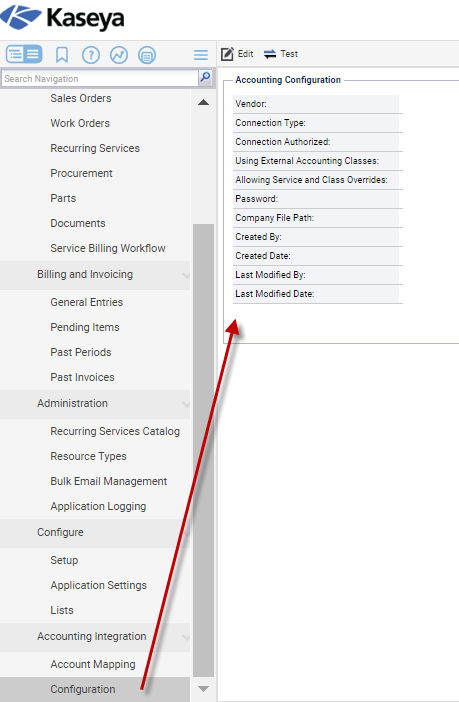
Connecting to Quickbooks Online Edition - For Existing Users
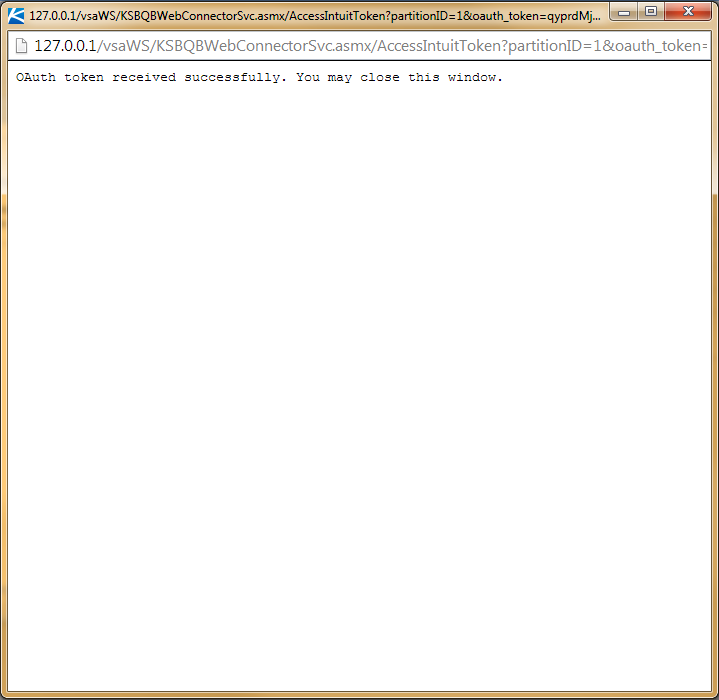
There is no longer a Connection Key as there was with the old integration API. Instead the first time the user connects, the user goes through an OAuth authorization process to obtain an access token from Intuit web services. VSA securely stores that access token for future data access to the Quickbooks account data.
To update your integration:
A new field, Connection Authorized, has been added to this page. The value for that field will initially be No. Any attempts to access Quickbooks Online data will fail. A message will indicate there are currently no connection credentials available.
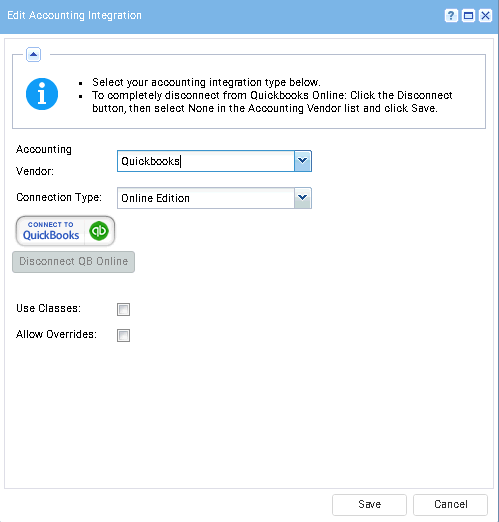
Quickbooks as the Accounting Vendor.Online Edition as the Connection Type. 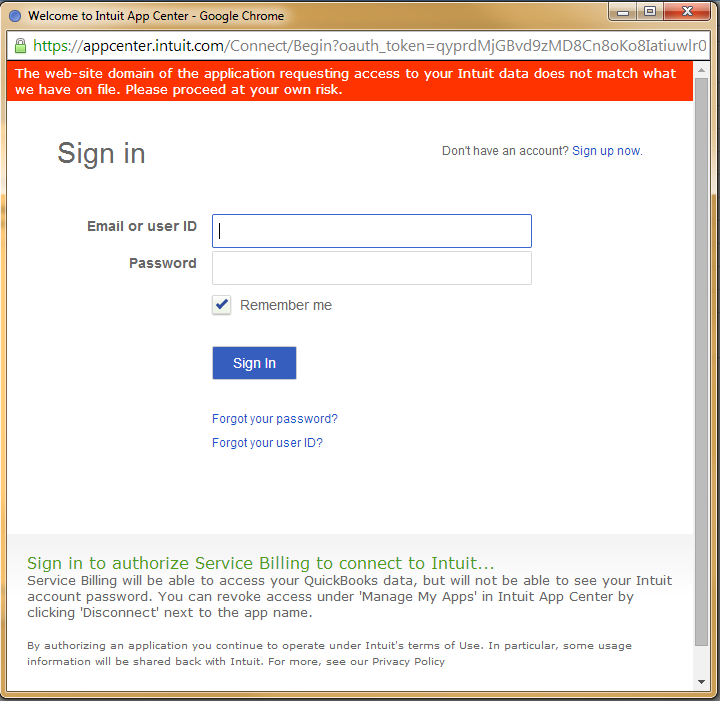
Yes in the Connection Authorized setting.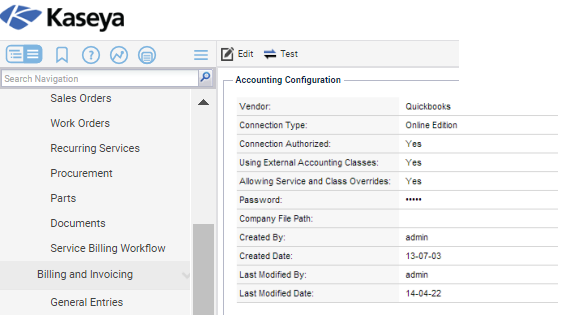
Note: Quickbooks customer address records are only updated in Quickbooks when a new Service Billing customer record is created. From then on, customer address information must be maintained separately in both systems.
Connecting to Quickbooks Online Edition - For New Users
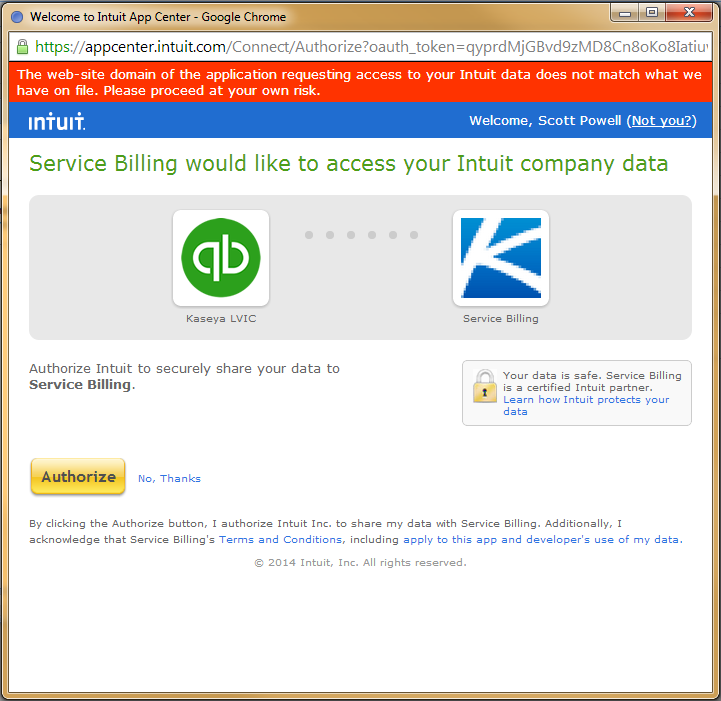
Quickbooks Online Edition uses an Oauth protocol for three-way integration between the user, Service Billing, and the user's Quickbooks Online Edition account.
To make this connection:
Quickbooks as the Accounting Vendor.Online Edition as the Connection Type.
Yes in the Connection Authorized setting.
Note: Quickbooks customer address records are only updated in Quickbooks when a new Service Billing customer record is created. From then on, customer address information must be maintained separately in both systems.
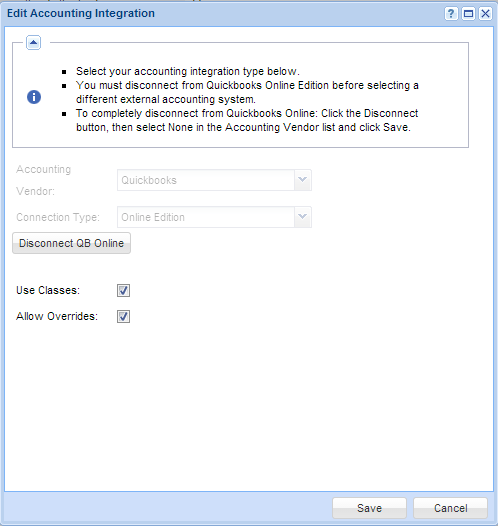
Disconnecting from Quickbooks Online Edition
A user may temporarily disconnect Service Billing from their Quickbooks Online Edition account without changing any of the other external accounting settings.
Service Billing is now disconnected from the Quickbooks account but all of the external accounting settings are unchanged. Note that any attempts to export customers or invoices to the Quickbooks account, as well as any attempts to retrieve class, customer, terms or other information from the Quickbooks account will fail with a message indicating that the account is not connected.
Changing the External Accounting System from Quickbooks Online Edition
Once connected to Quickbooks Online Edition as the external accounting system, the Accounting Vendor and Connection Type dropdown selectors will be disabled. If you want to completely stop using Quickbooks Online Edition as the external accounting system, you must first disconnect from Quickbooks Online Edition as described in Disconnecting from Quickbooks Online Edition. Once disconnected, the dropdowns will again be enabled for selecting some other system. If you no longer wishes to use any external accounting system, select None as the Accounting Vendor and click the Save button.
Sales Tax Integration with Quickbooks Online Edition
Due to some changes in the new QBOE API v3 integration protocol, some additional steps may need to be taken to correctly include sales tax on invoices exported from Service Billing to Quickbooks Online Edition. Service Billing requires that a default sales tax be set up in the users Quickbooks Online Account with a value that matches the default sales tax value set in Service Billing.
This does not prevent a user from setting a customer-specific sales tax, a feature already supported in Service Billing. Sales tax will still be calculated using the override rate specified for the customer and that sales tax amount will be sent to Quickbooks in the invoice. The user may need to review the invoice in their Quickbooks account and make sure the sales tax code selected for the invoice is correct there. If not, the invoice values will be correct but the total will be flagged if the selected tax code in Quickbooks does not match the calculated value.