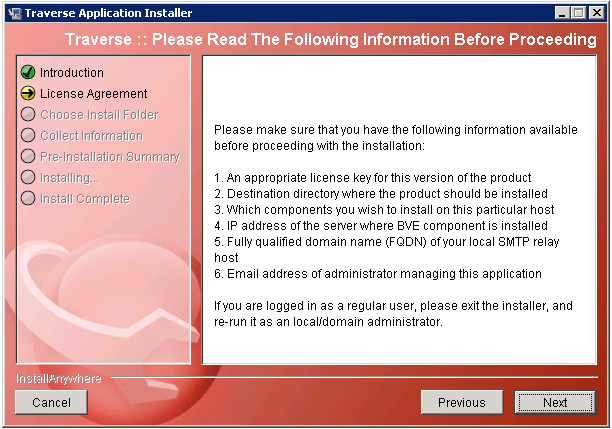
Except for running the installer as a local or domain administrator, ignore the instructions on this page.
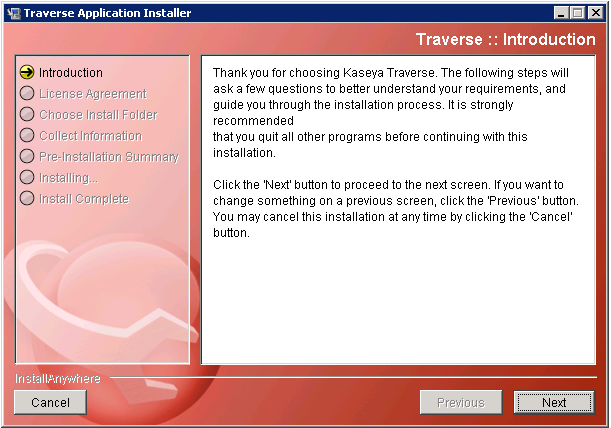
Click Next.
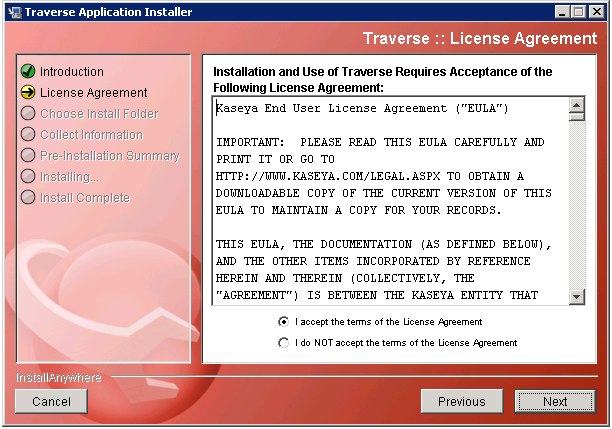
Review the License Agreement, then click the I accept the terms of the License Agreement option.
Click Next.
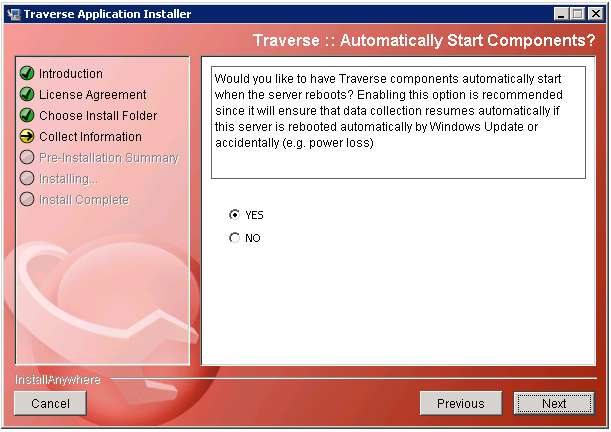
Accepting the default Yes option to this prompt is strongly recommended. It ensures all DGE extension services will be restarted if the network Windows machine is rebooted.
Click Next.
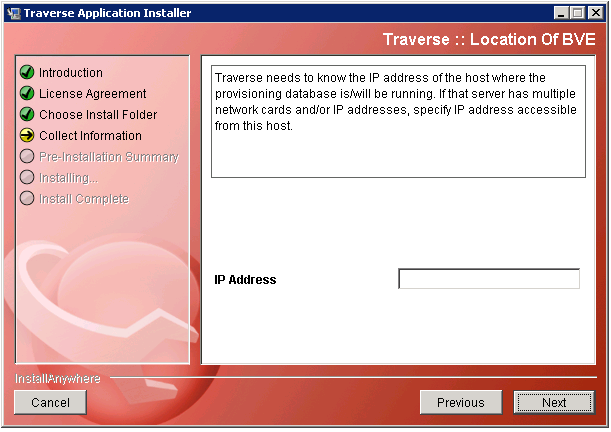
Enter the value for the BVE Location you identified in Install the DGE Extension in the IP Address field. It should be similar in format to your-unique-site-name.kaseyatrials.com. Note: Do not include an http:// prefix when you enter this value.
Click Next.
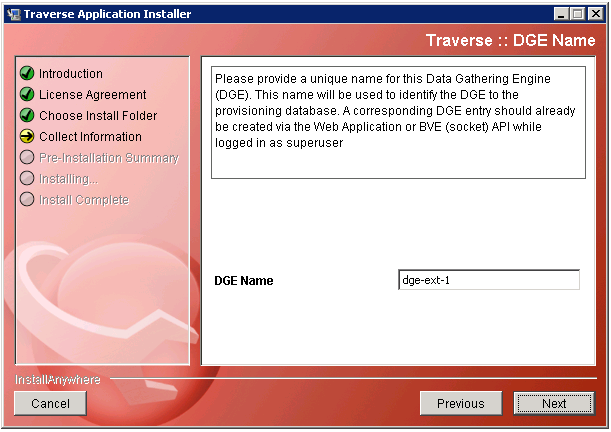
Enter the value for the Unique Name you identified in Install the DGE Extension above in the DGE Name field. It should be similar in format to your-unique-DGE-name. Note: Typically your first DGE extension is called dge-ext-1.
Click Next.
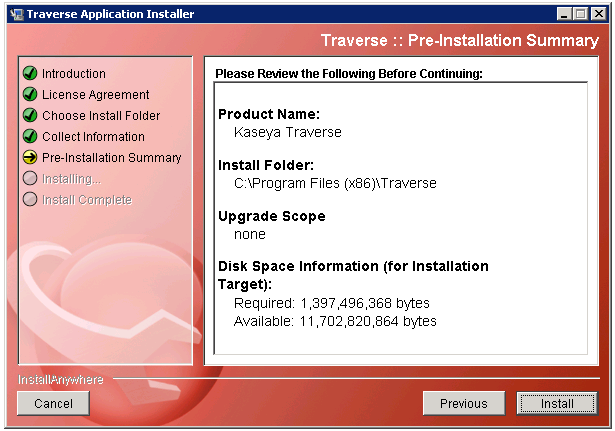
Review the following information before beginning the installation.
Click Install. It may take a few minutes to complete the install.
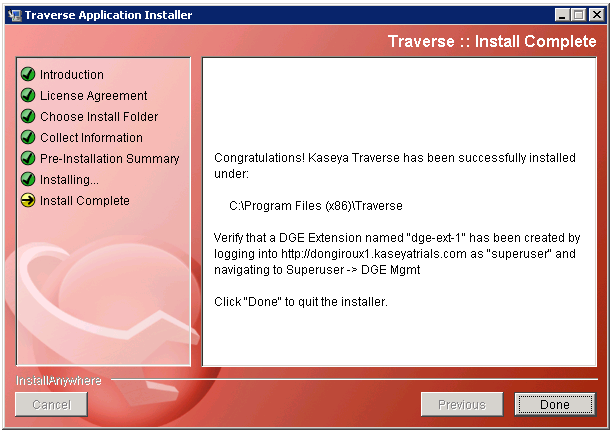
Ensure the text displayed in this box matches the values you were provided in Install the DGE Extension.
Note: The text prompts you to continue by logging on to your unique Traverse website, using the username superuser and the same assigned password you were provided in the Kaseya Traverse Evaluation email.