![]()
![]()
![]()
|
|
|
|
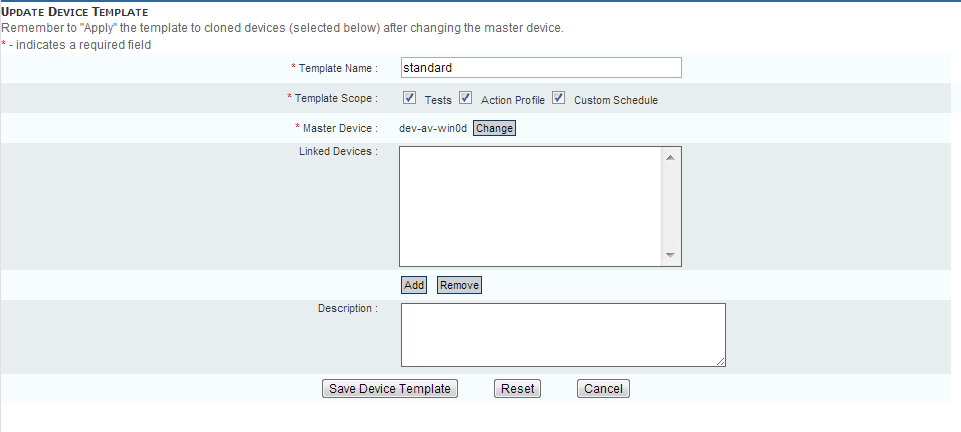
A Linked Device Template contains a group of tests that can then be applied to multiple devices so that each associated device is provisioned with the same tests. The Linked Device Template can also include an action profile and a custom schedule as well. Creating a Linked Device Template allows you to configure tests for a master device and then apply that template across multiple associated devices. What's important to note is that when the template for the master device is updated, you have the option to push the updated template to all the devices associated with the given Linked Device Template.
For example, you might be using Traverse to monitor your network infrastructure, in which several devices have the same hardware and software configuration. Because these devices have the same hardware and software configurations, you want to execute the same tests, standardize thresholds, apply particular action profiles, and remove unnecessary tests. Creating a Linked Device Template allows you to configure these options one time in a template, and then apply the template to the applicable devices. But, more importantly, it allows you to preserve the relationship to enable easy updates if and when the master template changes.
Note: Kaseya recommends using linked device templates for application and server monitoring. Typically, routers and switches have configurations that are unique, and applying a template created from one router onto another router can cause incorrect test results (because of invalid OIDs).
Note: Because Traverse stores all test settings (such as SNMP OIDs, SNMP community strings, WMI properties and WMI login credentials) in the linked device template, you must ensure that the template is valid/applicable for the associated devices (to which you are applying the template).
Creating a Linked Device Template
Applying a Linked Device Template
