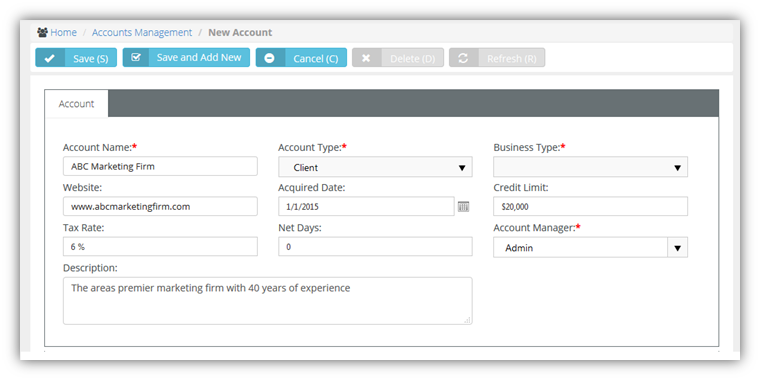
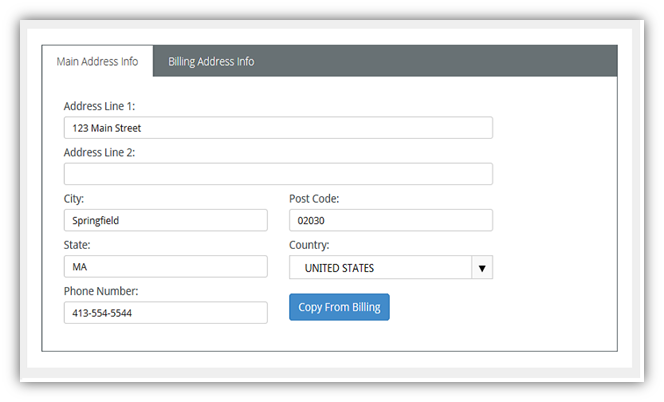
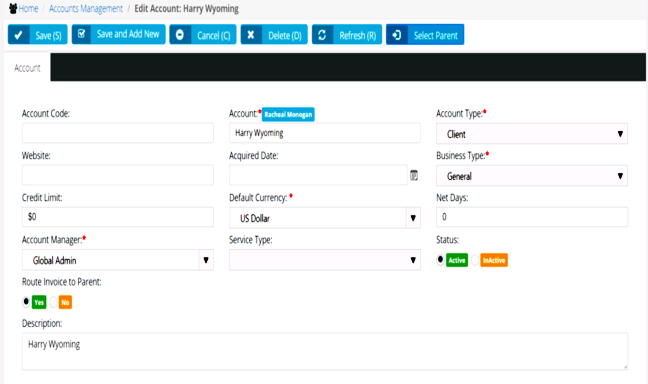
The Accounts Management page maintains your account profiles for every organization you do business with. This includes clients, prospects, vendors, competitors, former clients, business partners, and miscellaneous organizations.This same page displays in the CRM module if you have permission. Initially you create a basic account. After you save an account the first time, multiple tabs display for you to enter additional details.
Creating Accounts
You can select two types of accounts.
Yes for this child account, billables are routed to the parent organization for payment. If set to No, parent-child accounts are used for reporting purposes only.Client, Competitor, Former Client, Miscellaneous, Partner, Unknown, VendorNote: One of your accounts is an internal account. The internal CRM customer account is created for you and matches your company name by default. Your internal CRM customer account is used when you ship inventory between warehouses. You can filter accounts to identify your internal account.


Yes, the account is being used.
In This Section |